 I love to craft! One of my favorite mediums has returned from childhood and is even better as an adult! When I was a kid of the 80s, we would get Shrinky Dink kits. They came pre-printed with coloring book-like pages. We would color them in with colored pencils, cut them out and watch the magic in the oven! As an adult I have discovered a new product that uses a computer and printer. This is amazing because now I'm not limited to pre-printed images and can create any image using my computer! I buy mine from my local Michael's Craft Store but you can order them online at Amazon.
Since many people ask if I have an Etsy page to sell them, I thought I'd blog a tutorial. Then you all can craft until your heart's content!
Materials needed:
- Printable Shrinky Dink paper
- computer (to gather, modify and prepare the images)
- ink jet printer
- scissors
- corner punch (optional)
- standard hole punch
- oven
- parchment paper
- clear spray paint
- bead smith pliers
- 5mm split jump rings
- charm bracelet

Directions:
1. Prepare your document.
- save the images that you want to print onto your computer
- insert them into a blank Word document with 1/2" margins
- resize the images to 1.5" in height
- increase the brightness to 50% (sometimes this washes out too much of the image, try sharpening it or lowering the brightness to get the details back)

- fill the entire page! waste not ~ want not ;)
- I use 2 spaces between each image and 1/2" between rows.
- print a test page on paper just to be sure everything looks okay
- print the document (use best color printing settings with plain paper)


- cut along the bottom of each row (this leaves 1/2" above each image to punch the jump ring hole)
- punch a hole near the top of each image

before and after - optional: use the corner punch to round the top edges of your charm
- optional: don't punch a hole and make a magnet!

- preheat the oven to 300 degrees
- line a cookie sheet with parchment paper
- place your charms on the parchment with space between (I like to do 8 at a time to leave room for rolling. If they touch, they may bond together permanently.)
- WATCH the magic happen (about 3 minutes)
- after they return to a flat state for 30 seconds, remove from oven
- if they are curved, skewed, or stuck together - you can attempt to straighten them with a metal utensil (they will be VERY hot and will only be flexible while very hot) and bake them more
- allow to cool

- place your charms in a parchment lined box (so they won't bond with the box)
- spray the charms with clear spray paint (even swipes 12" from the charms ~ careful, they are light and may flip over)
- allow to dry completely


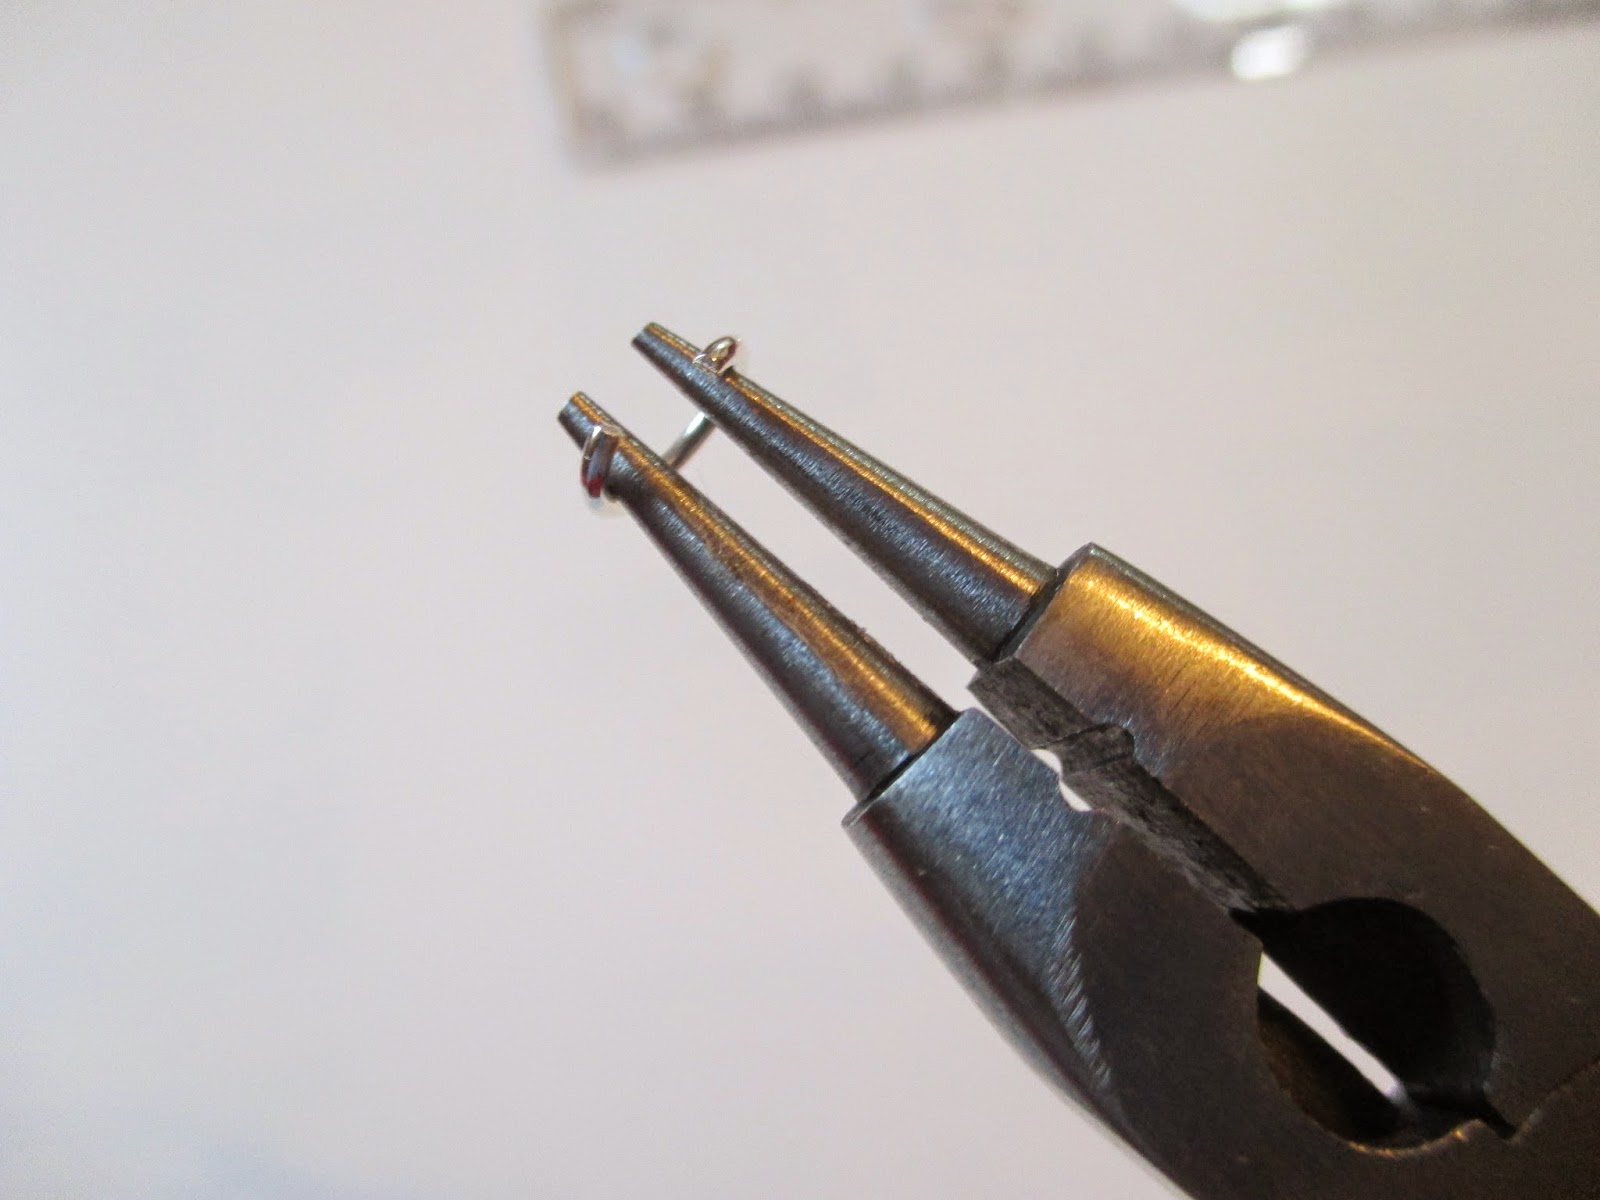
- using the pliers, open the jump rings

- feed the ring through the hole and the link of the charm bracelet

- close the jump ring with the pliers

- Continue until all charms are attached
I've also made Christmas ornaments, zipper pulls, earrings, a bangle bracelet and stretch bracelet using Shrinky Dinks. I like to mix covers and symbols for a different look. Your imagination is the only limit! If you are looking for a challenge, the Shrinky Dink printable paper is printable on BOTH sides. I'm currently fighting to line up both sides for my earrings!

2.3mm small cable chain and fishhook earrings
spacers, elastic cord and seed beads
 |
| Bangle bracelet from BookCon 2014 |
 |
| Earrings for BEA and BookCon 2015 |
 |
| Sarah J Maas book earring |
 |
| Rainbow Rowell book earring |
 |
| The Divergent movie poster and Twilight Saga are magnets |

This magnet was made with Matte Shrink Film and colored with extra fine Sharpies. Notice the zigzag edges, you can cut with fun scissors!
If you have any questions, please ask! Happy crafting!
how long does sealing them with the spray take (to dry?) Minutes?
ReplyDeleteMaybe a 1/2 hour. I have kids so I tend to forget about them for an hour or so and they're always ready to handle.
Deleteohh!! I love them! , I have a question, can you make any necklace with them?
ReplyDeleteThx! Absolutely! Please tweet me a pic so I can see your work 😄
DeleteAre there copyright infringements?
ReplyDeleteI do NOT sell these. Every author or publisher that I met loved them.
DeleteI absolutely love this! I am going to use this idea to try out making bookmarks for people of their favourite books! Thanks for sharing!
ReplyDeleteMe too! Bookmark charms would be cool! You are very welcome :)
DeleteWhat a great idea! I'm a rep with Usborne Books and I would love to make some of our books to wear to parties and events!! Thank you!!
ReplyDeleteThanks! I'd love to see a pic of your jewelry! You're welcome :)
DeleteIt would be great for a child learning to read. For every book they read and finish, make a charm. Once the book is done hang it on the necklace. They can show everyone what they have learned.
ReplyDeleteWhat a great idea!
DeleteThis just made my week! I am so happy! I can't wait to make jewelry of my favorite books!
ReplyDeleteYay! Happy crafting!
DeleteDo you have to absolutely use an inkjet printer?
ReplyDeleteThe packaging for the shrinky dink paper indicates that it is for ink jet printers. I'm not sure how other printers would work. If you give it a try, please let me know how it goes!
DeleteLooks like fun
ReplyDeleteit is! thx!
DeleteBook cover art is protected by copyright. Printing and selling them is a violation of copyright and illegal.
ReplyDelete